Dev Blog
One: beginnings
This is the final project for the course "Computer Graphics and Interaction" by professor Cristopher Peters, at KTH Royal Institute of Technology, during the Spring of 2023.
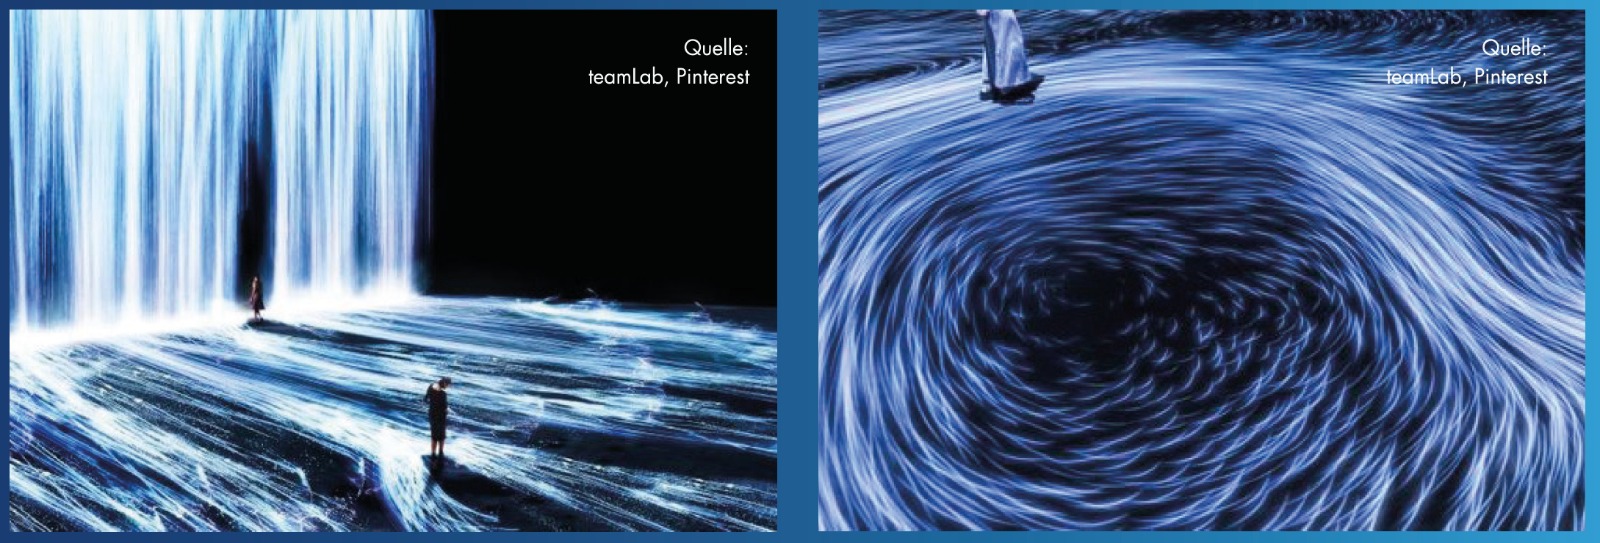
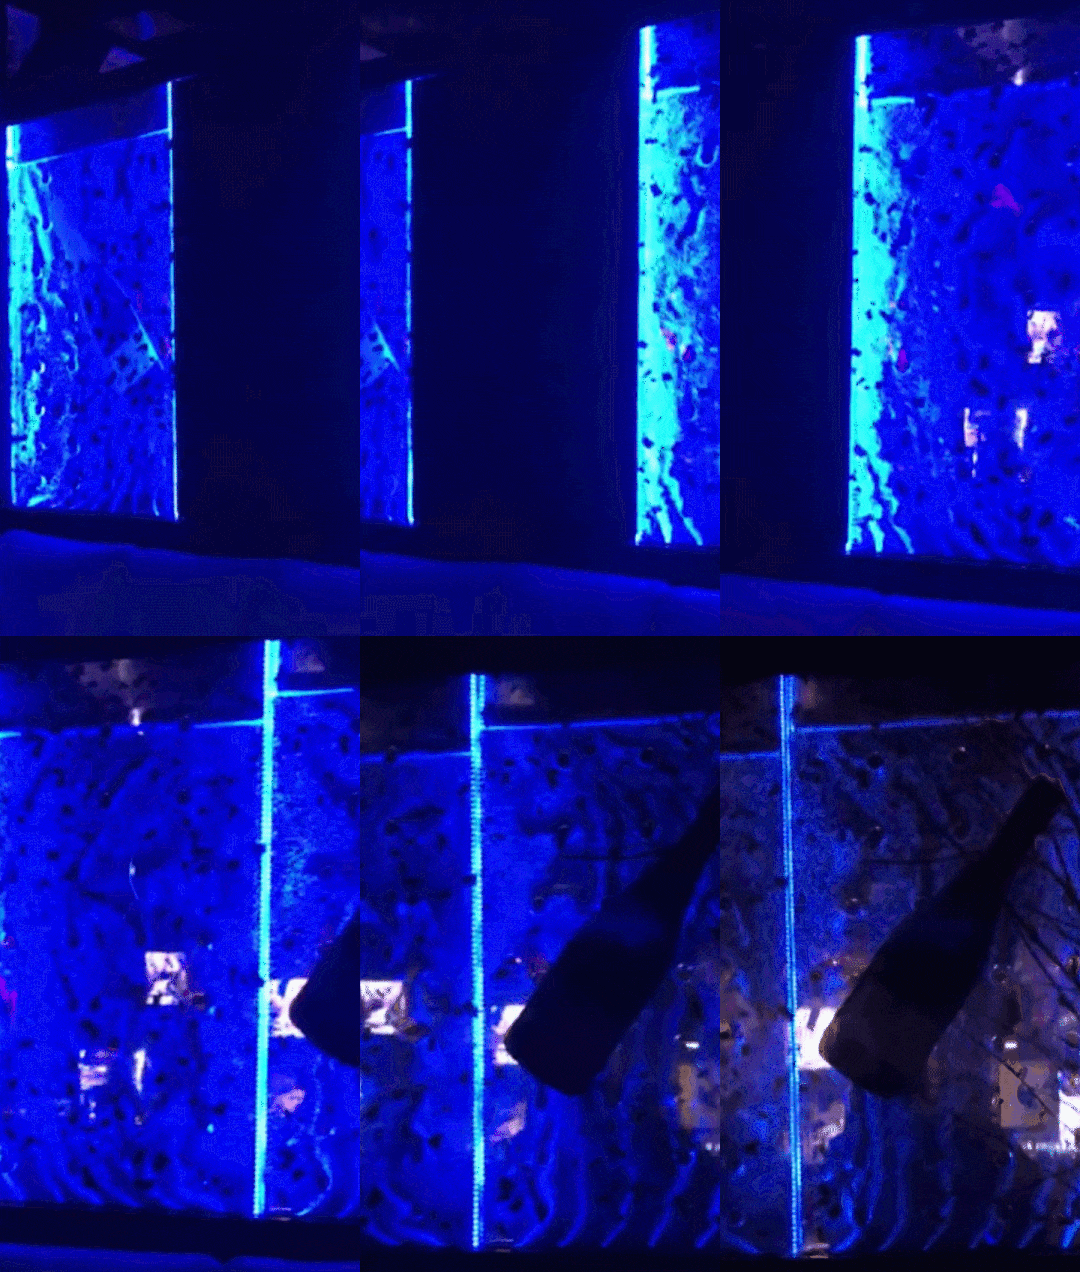
The initial inspiration came from a previous project by Christine, called ABSORB, which was all about creating an immersive experience exhibition centered around water and light. It was the motivation to explore the idea of animating glowing water in a new and unique way. Thinking about glowing water the thought was not far away: bioluminescence! The natural phenomena of bioluminescent organisms would be a wonderful topic for the computer graphics project. The idea was discussed with the professor, who provided us with some valuable advice. It was suggested by him that using a particle system would be a relevant approach to achieve the desired effect.
Originally, Tiago thought about doing the project about fluid simulation, and Christine, about simulating bioluminescent plankton. Then we realized it would be amazing to combine efforts and build a fluid simulation and bioluminescent particles simulation on top of it! That’s how this
We realized that we could take it up a notch by making the project touch-sensitive on a large screen, creating an interactive experience. This aspect excited us because we wanted to push the boundaries and engage the audience in a whole new way. Moreover, we decided to focus on the research aspect of the project to deepen our understanding and contribute to the existing knowledge.
Two: specification
We started specifying the project using the specification template provided by our professor. This helped us to outline the main goals and requirements for the project. We wanted to ensure that we had a clear direction and a solid foundation to build upon. The template served as a great starting point and helped us organize our thoughts and ideas effectively. It was essential to lay the groundwork for the research and report.
Three: technical inspirations
With out specification, we could start getting our hands "dirty". We looked up for implementations of Fluid Simulation, and found many interesting resources. Some very inspirational, but without much explanation, and others very didactic, with detailed explanations.
Inspirational (fluid simulation)
- This is probably the most amazing implementation of fluid simulation for the Web: WebGL Fluid Simulation
- A C++ / Java / AS3 library, by Memo Akten, that is popular with artists, used and adapted in many installations and performances. Memo says his main example was inspired by the unfinished game Plasma Pong, a version of Pong where the ball and paddles move through a fluid — which was frankly a super cool idea!
Fluid simulation explained
- This chapter of Nvidia's "GPU Gems", "Fast Fluid Dynamics Simulation on the GPU", by Mark J. Harris
- Mike Ash's excellent "Fluid Simulation for dummies", with code samples in C.
- Mike Ash's original master's thesis, which inspired the writing of the previous item's tutorial (there are English and French versions of his thesis on the linked page)
- Mike Ash actually based his implementation on Jos Stam's paper "Real-Time FLuid Dynamics for Games" (pdf), the root of most fluid simulation implementations out there, apparently.
- The always amazing Daniel Shiffman tackled a fluid simulation on his "Coding Challenge #132: Fluid Simulation" (YouTube), where he adapts Mike's implementation to Processing.
The Navier-Stokes equations
- A very interesting Numberphile episode on the Navier-Stokes Equations (YouTube), with Oxford's Tom Crawford
- Not specifically about Navier-Stokes equations, but more actually about some of the underlying Math (Vector Calculus): 3Blue1Brown's "Divergence and curl: The language of Maxwell's equations, fluid flow, and more" (YouTube)
Particle Systems and Flow Fields
- Another Daniel Shiffman's video, "Coding Challenge #24: Perlin Noise Flow Field" (YouTube)
- And yet another Daniel Shiffman's resource: Chapter 4 of his "The Nature of Code" book, "Particle Systems"
Inspirational (bioluminescence)
- This mindblowing project by Studio Roosegaarde, "Glowing Nature"

Four: our strategy
Going through all these references, we decided to divide our implementation into the following steps:
- build a classic fluid dynamics simulation with the Navier-Stokes equations for incompressible flow, resulting in a fluid velocity grid
- use this velocity grid as a vector field to move a particle system built on top of the fluid simulation, representing the bioluminescent plankton
- make the simulation interactive by allowing touching/clicking to generate new particles, and dragging to change the velocity field realistically
- parameterize the particle system to simulate the bioluminescence behavior
Five: the fluid simulation
We based our implementation on the ones by Mike Ash and Jos Stam. We begin by considering a two-dimensional discrete representation of the fluid in a square container. The container is represented by a squared homogeneous grid, with N cells on each side. For each grid cell, the idea is to compute and keep track of values for two variable: density (scalar) and velocity (vector), and we assume that these values are constant within a cell.

The Navier-Stokes equations provide a precise description of the evolution of a velocity field over time. Since a velocity field by itself is not something visually interesting, we can make the actual fluid "visible" by modeling its particles as a density field (scalar) that evolves through the velocity vector field.
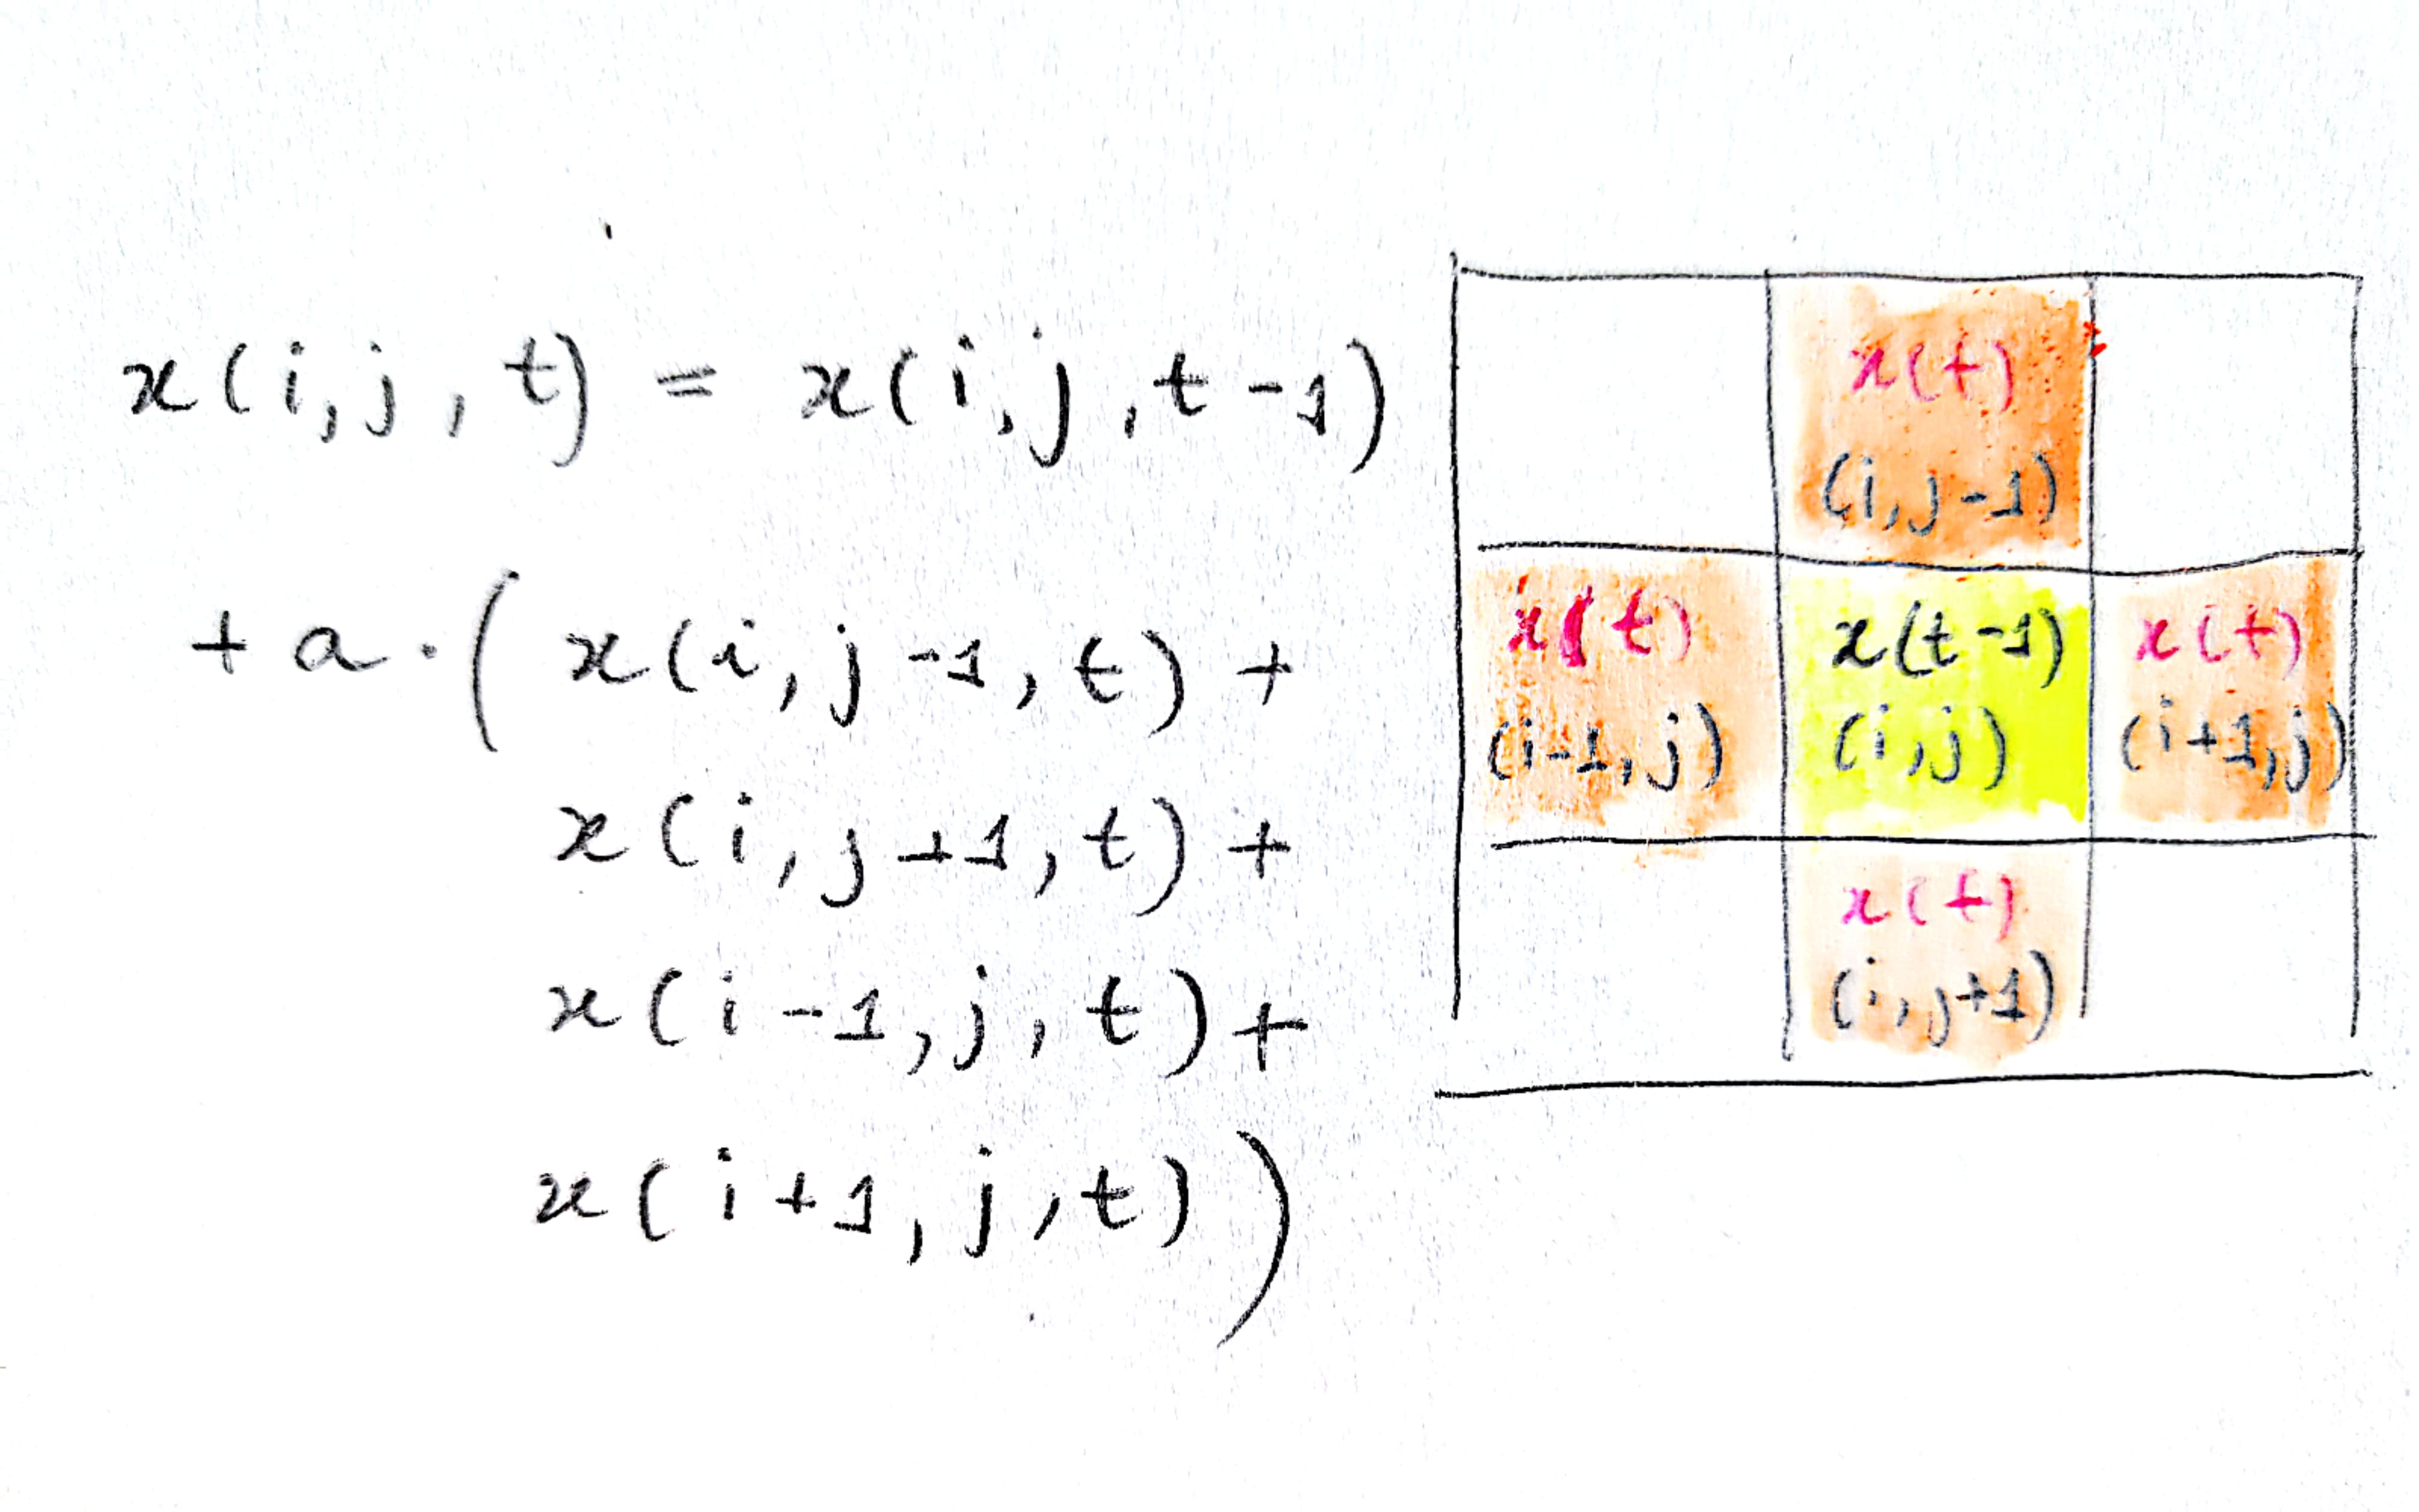
This is important because we noticed that a common pattern in simulating fluids is computing some variable's value for a given cell by taking its previous value and applying some factor over the sum of the current values of its immediate neighbors, like so:
We wanted our simulation to be accessible from any device, so we chose to implement it using the Web Standards: HTML, CSS and (vanilla) Javascript. We used the HTML5 Canvas API for drawing. Our plan is to code everything from scratch, whenever possible, to maximize our learning!
So, we started creating basic classes and methods for representing things such as vectors and vector operations, and the moved on to the simulation itself. We tried to keep everything as parameterized as possible, so that we could tinker with the key aspects of the simulation.
To actually visualize the simulation, we mapped each cell to an actual square on the screen, mapping the cell's current density to the square's color's intensity. We started with a small grid (for fear of things blowing up), until we were sure that the simulation was behaving as expected. To test the simulation, we added interactivity right away: clicks for "spreading" density (that is, increasing the density's value on the clicked cell) and mouse drags for creating movement (by increasing the velocity vectors along and in the direction and intensity of the mouse's motion).
After many, many errors, and after figuring out why the errors were gone but nothing was apparently happening, we finally got the simulation working for a very small grid:
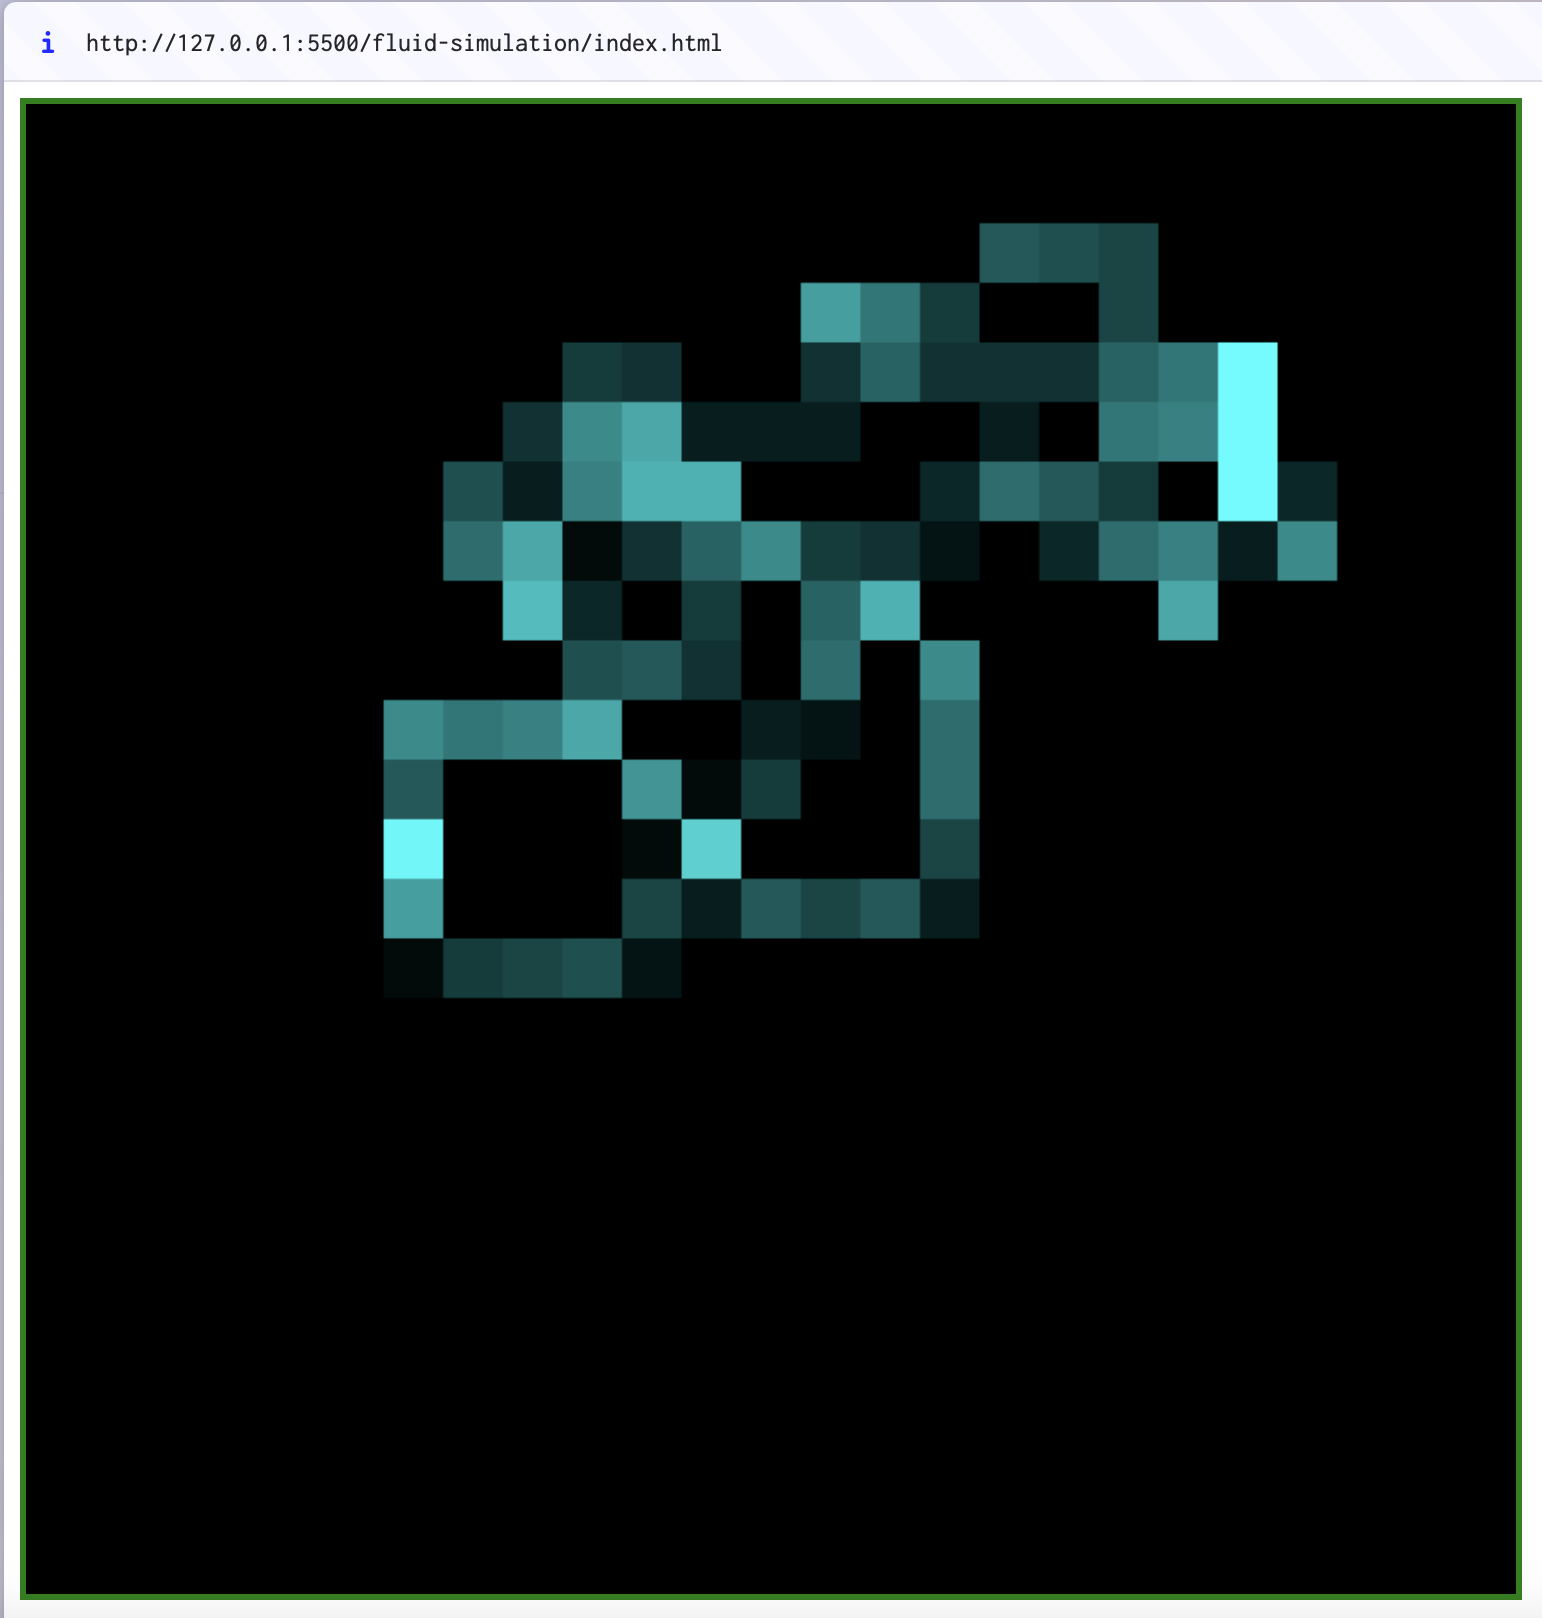
It doesn't look exciting now, but for us it was super exciting to see something work for the first time! Below, a video of this first prototype (with a slightly larger grid).
We can see the effect of using larger and larger grids (meaning, smaller and smaller cell sizes: 20, 10 and 5px).

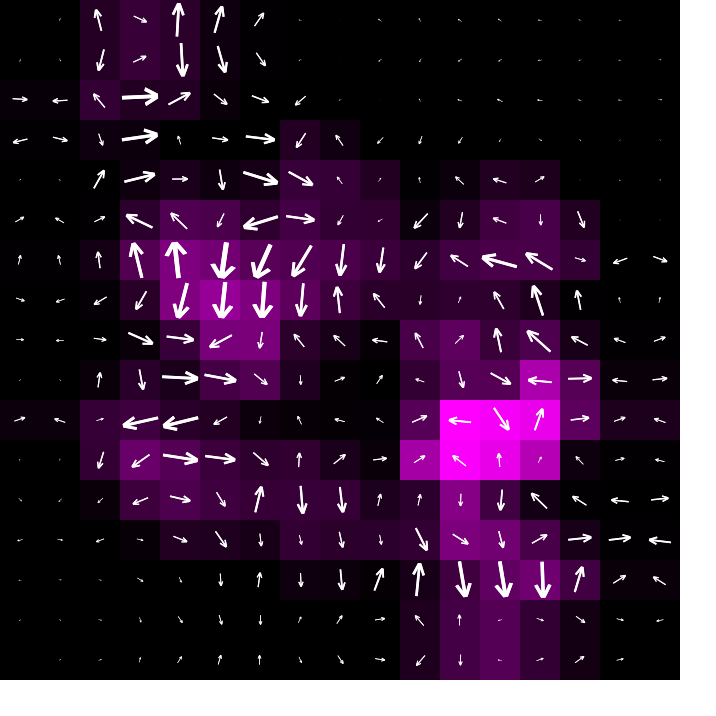
The fluid simulation results in basically a varying velocity vector field, so we wanted to visualize that field. For that, we plotted the velocity vectors for each cell, and that is what we got:
Next step was to include an interface to dynamically interact with the key simulation parameters:

And finally we were satisfied with our fluid simulation, and could move on to the next step: the particle system.
Six: the particle system
Now that the fluid simulation has been successful, we had a velocity field that changes over time and in response to user interaction. The next step is setting up a system of particles that move over the fluid according to the underlying vector field. According to the definition of William Reeves,
"A particle system is a collection of many many minute particles that together represent a fuzzy object. Over a period of time, particles are generated into a system, move and change from within the system, and die from the system"
We took advantage of JavaScript's object-oriented programming capabilities to define a class of particles, and then create each particle as an instance of this class, encapsulating their own state, data, and parameters. This allows for a great level of randomization and control, and thus individualization of the particle's behavior.

In our model, particles are created around the clicked or touched point. After that, their motion will be determined by the velocity vector field. That is, we check over which cell each particle lies, and we use the cell's velocity vector to compute the particle's velocity and next position.
We started our tests with only two particles. In the video below, we keep the vector field visible (actually, the directions of the vector field, the magnitudes are not represented) and we also keep adding density to the underlying fluid with our mouse clicks.
With the combination of different parameters, the possibilities seemed endless. Sizes, shapes, colors, transparencies, fading rates, size change rates, number of particles, radius of particle generation, velocity change rate... Tinkering with them would yield very different results.
Although not what we were aiming for, many combinations generated some quite aesthetically pleasant patterns!
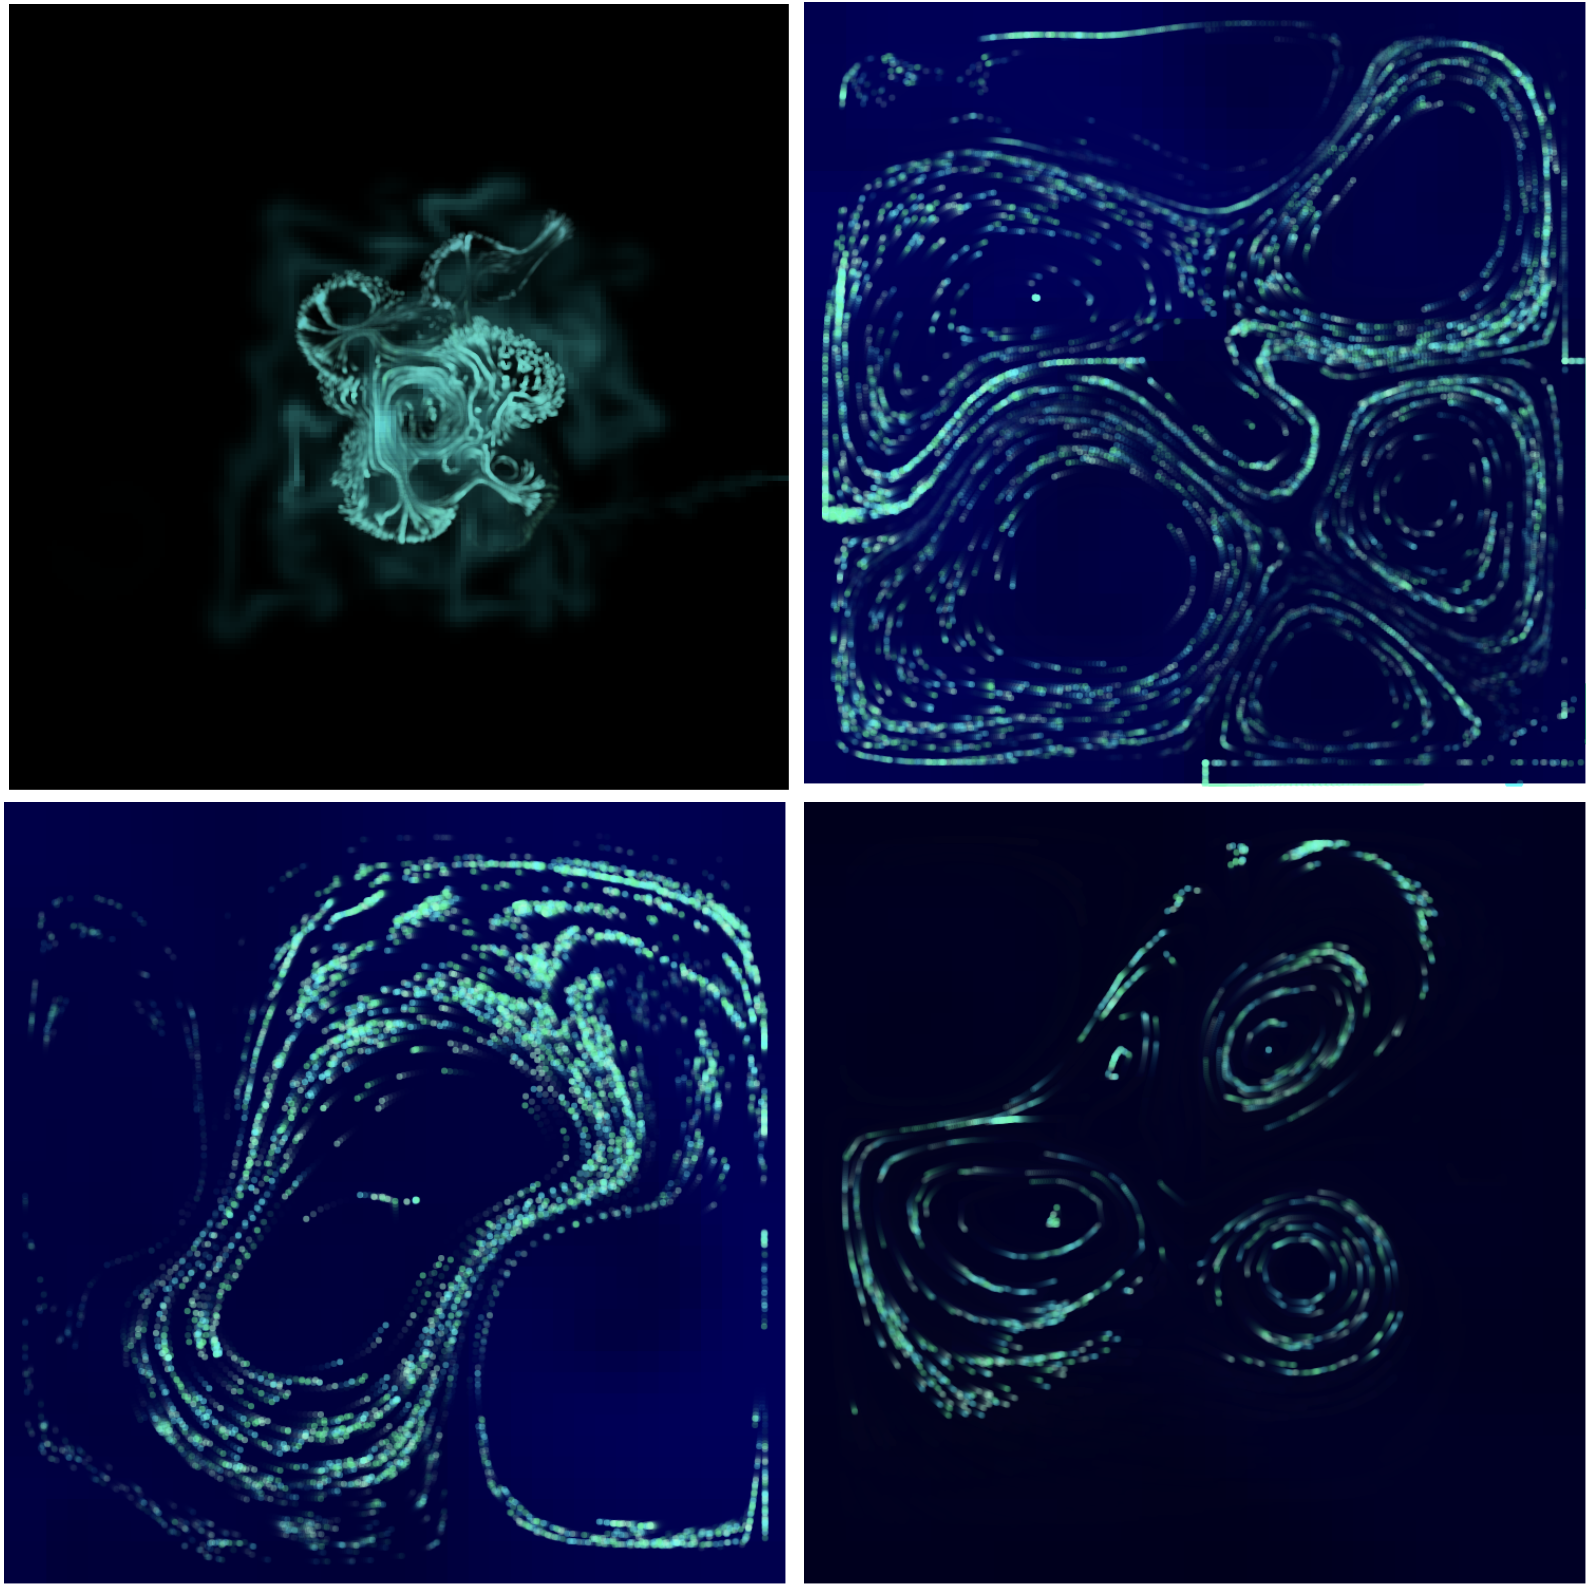
To mimic the natural behavior, we needed to carefully tweak some of those key parameters!
Final: refining — iterating
Once the basic framework of the implementation was in place, we wanted to improve the realistic behavior of the interaction. To do this, we looked at the various basic factors that determine the behavior, and we made those factors available to real-time adjustements in the user interface:

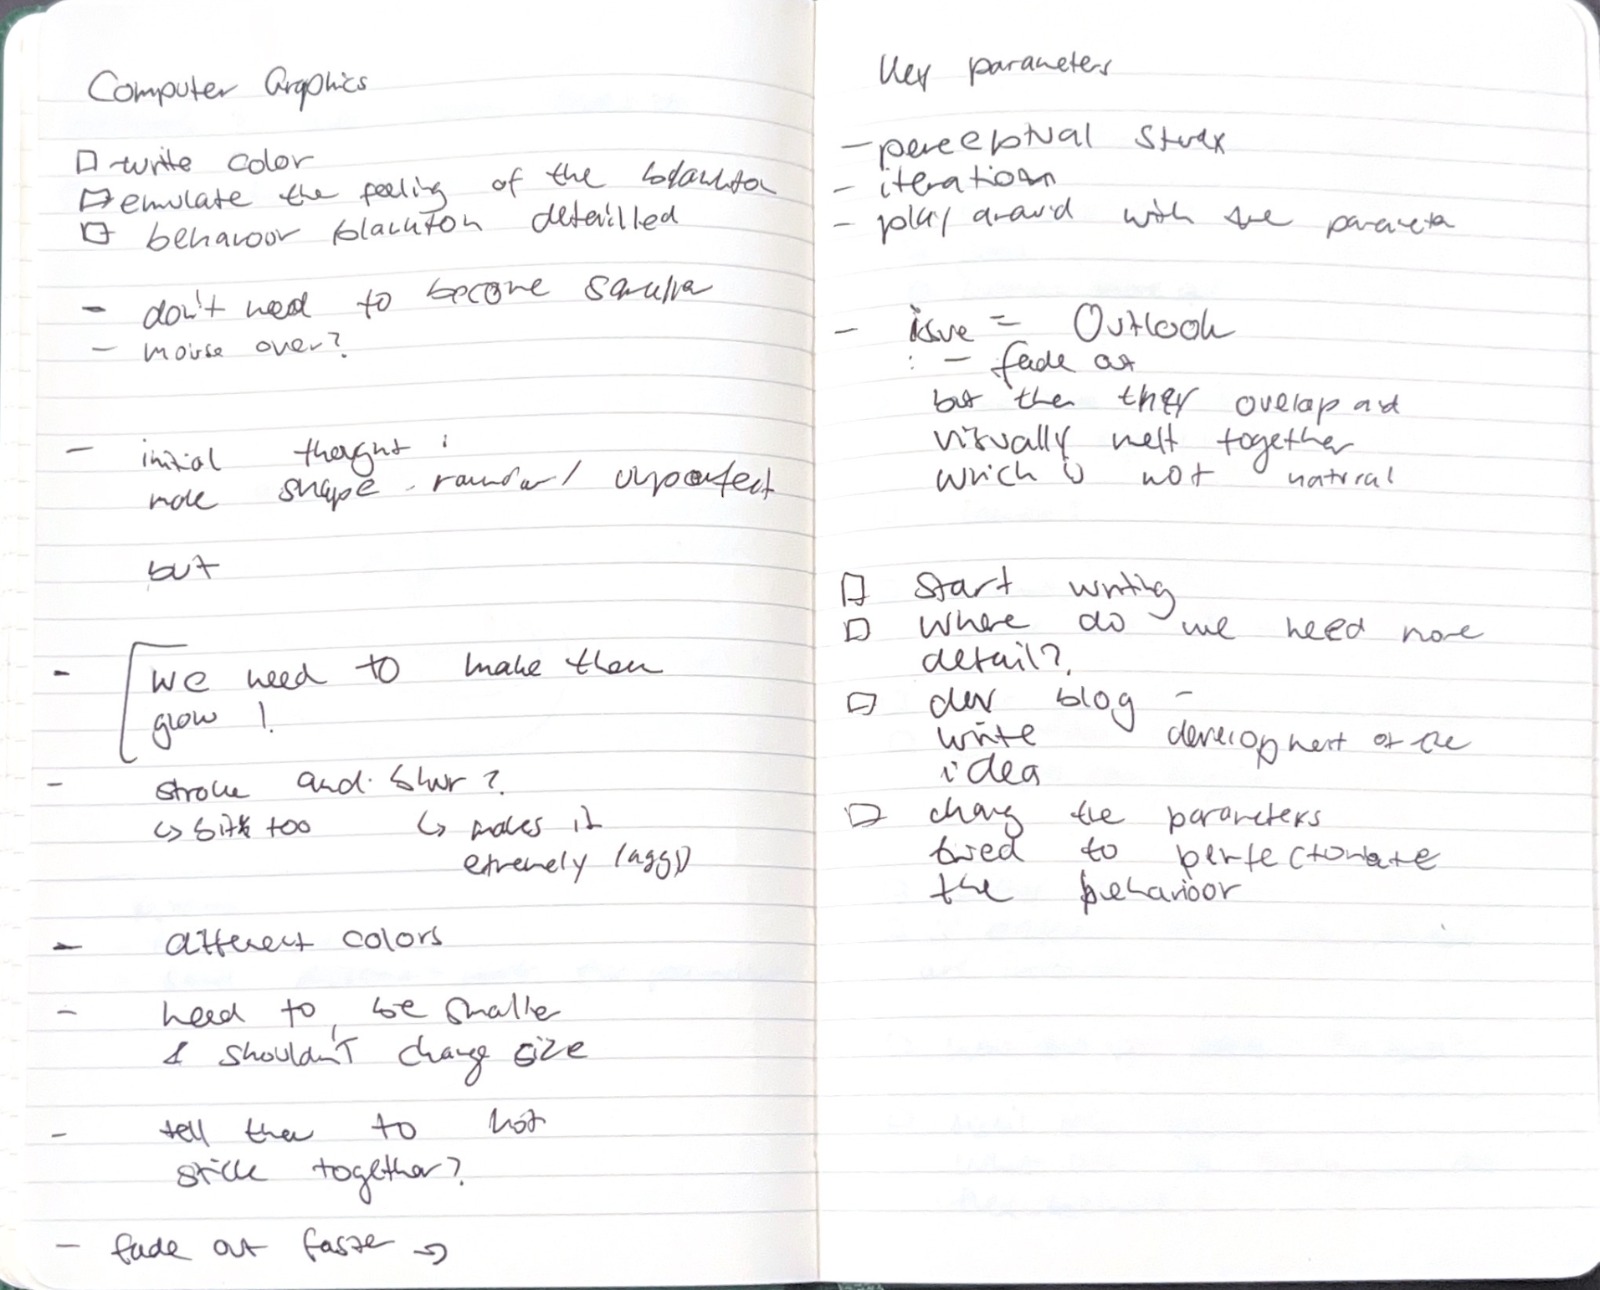
The iteration process was very intuitive and we compared our animation with the behavior of the plankton from various videos. The key factors were as follows:
- Shape
- Glow
- Color
- Size
- Glow off effect
We made notes of the process. After the iteration and the implementation of the changed default factors, we again discussed small improvements. Among other things, we changed the color of the particles and the size. This was because a small particle size looked more natural.
As a final touch, although our fluid simulation is mainly used to drive the bioluminescent particles, to avoid moving these particles simply over a flat dark background, and to add some texture and convey some sense of the underlying fluid motion, we set up an initial random density distribution, representing its intensity with dark blue shades. Particularly, we set up the initial density distribution using two-dimensional Perlin Noise, to achieve a subtle, smooth, and realistic effect.
This was a very satisfying journey! Naturally, there many opportunities for improvements. As we noted specially in the final days of the project, small tweakings in the parameters can affect greatly the resulting appearance. This way, a perception study could improve greatly the realism of the simulation. Beyond that, there is the technical challenge of using GPU programming, such as WebGL, to improve the performance and allow more advanced effects on the individual particles.
All in all, we are tremendously proud of our work and collaboration!

